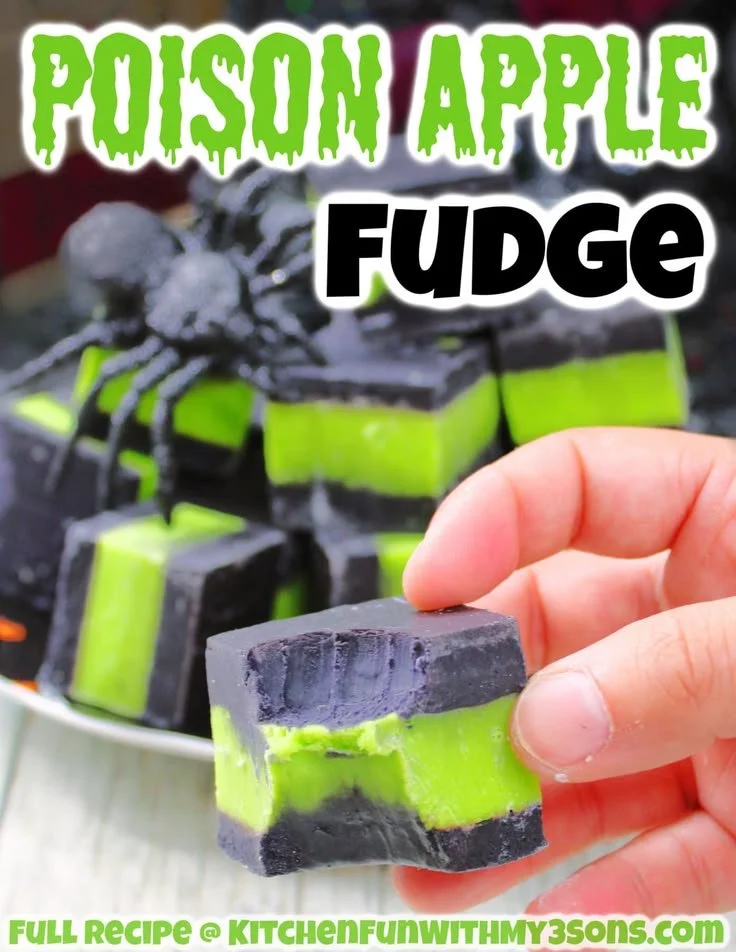
Vampire fudge is the perfect Halloween treat that combines the fun of spooky festivities with the rich, creamy texture of homemade fudge. This delightful dessert is not only easy to make but is also sure to wow your friends and family during Halloween gatherings. With vivid colors and flavors, it’s a unique addition to any spooky dessert table.
Why You’ll Love Vampire Fudge
- Simple to Make: This recipe requires minimal ingredients and no special skills, making it perfect for beginner bakers.
- Customizable: You can tweak the flavors and add-ins to create your own version of vampire fudge to suit your taste.
- Festive and Fun: The rich red and black colors are reminiscent of Halloween, making it a fun treat for parties.
- Great for Groups: This fudge recipe yields plenty of pieces, making it an ideal treat for gatherings or as a classroom snack.
- No-Bake Option: You don’t need to use the oven, meaning less mess and heat in your kitchen during warmer months.
Recipe Overview
- Prep Time: 15 minutes
- Cook Time: 5 minutes
- Total Time: 20 minutes
- Servings: 24 pieces
- Difficulty Level: Easy
Ingredients You’ll Need for Vampire Fudge
- 2 cups white chocolate chips: The base of your fudge, offering a sweet foundation. You can substitute with milk or dark chocolate chips if preferred.
- 1 can sweetened condensed milk (14 ounces): This adds creaminess and helps the fudge set.
- 1 cup crushed Oreos: For texture and a chocolatey twist.
- Food coloring (red and black): To achieve the spooky colors. Use gel food coloring for better results.
- 1 teaspoon vanilla extract: Enhances the flavor.
- Optional toppings: Additional crushed Oreos or candy eyeballs for decoration.
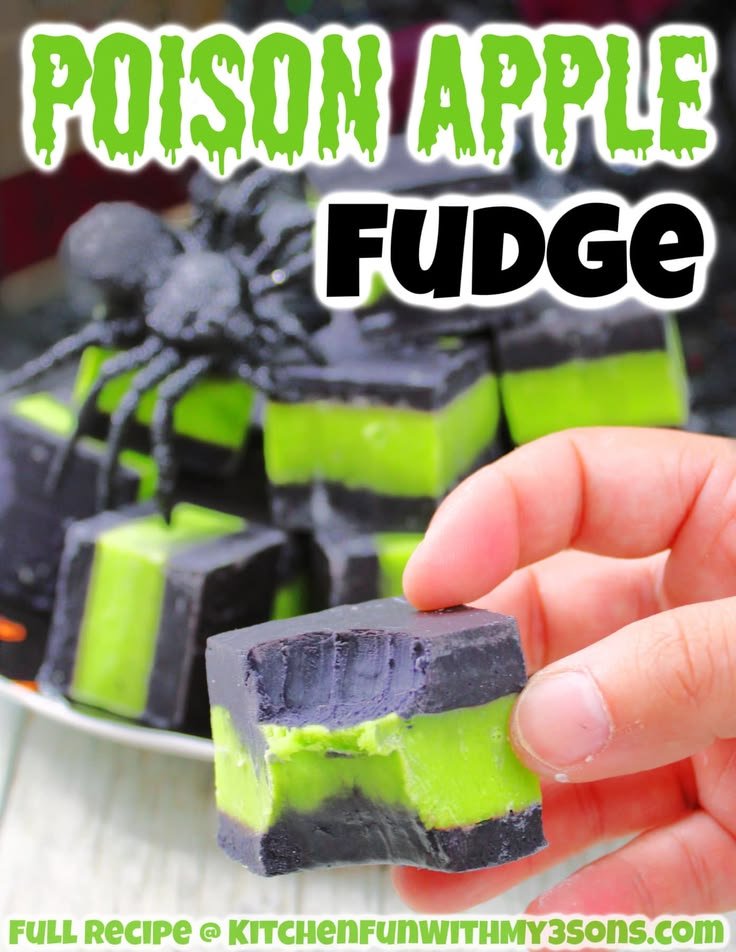
How to Make Vampire Fudge
-
Prepare Your Baking Dish: Line a 9×9 inch square baking pan with parchment paper, leaving some overhanging edges for easy removal later.
-
Melt the Chocolate and Milk: In a medium saucepan over low heat, combine the white chocolate chips and sweetened condensed milk. Stir frequently until fully melted and smooth.
-
Add Flavoring: Remove the pan from heat and stir in the vanilla extract. This boosts the flavor of your fudge.
-
Incorporate Color: Divide the melted mixture into two bowls. In one bowl, gently fold in red food coloring until you reach your desired shade. In the second bowl, mix in black food coloring.
-
Mix in Oreos: Add the crushed Oreos to the red fudge mixture and stir to combine.
-
Layer the Fudge: Pour the red fudge into the prepared pan and spread it evenly. Then, layer the black fudge on top, carefully spreading it across.
-
Swirl Decoratively: Use a knife or skewer to create swirls between the red and black fudge for a marbled effect.
-
Chill: Refrigerate for at least 4 hours or until set. For quicker results, leave them in overnight.
-
Cut and Serve: Once set, lift the fudge out of the pan using the overhanging parchment paper. Cut into square pieces and serve. You can top them with additional crushed Oreos or candy eyeballs for a fun presentation.
Tips for Success
- Use a Double Boiler: If you prefer, melt the chocolate using a double boiler to prevent burning.
- Avoid Overheating: Keep the heat low when melting chocolate, as it can seize up if overheated.
- Stir Continuously: Stirring helps to evenly distribute heat and prevents the chocolate from sticking to the pan.
- Chill Thoroughly: Ensure the fudge is fully chilled for the best texture when cutting.
Easy Variations
- Nutty Addition: Add chopped nuts, such as walnuts or pecans, into the fudge for a crunchier texture.
- Dairy-Free Option: Use dairy-free chocolate chips and coconut milk for a vegan version.
- Flavored Fudge: Try adding a tablespoon of peppermint or almond extract for a different flavor profile.
- Decorative Drizzle: Drizzle melted chocolate over the top before chilling for an elegant finish.
What to Serve with Vampire Fudge
- Pumpkin Spice Latte: The warm spice of this popular fall drink pairs well with the sweetness of the fudge.
- Hot Chocolate: A classic combination that enhances the cozy fall vibes.
- Halloween Cookies: Offer a variety of spooky cookies for a full Halloween dessert table.
- Candy Corn: This seasonal treat provides a colorful contrast to the darker flavors of the fudge.
- Apple Slices: The tartness of fresh apples offers a refreshing balance to the richness of the fudge.
Storage and Reheating
- Refrigerator Storage: Keep the fudge in an airtight container in the fridge for up to two weeks.
- Freezer Storage: You can freeze the fudge for up to three months. Wrap it tightly in plastic wrap and then place it in a freezer-safe bag.
- Reheating Method: There’s no need to reheat this fudge, but if it becomes too firm, allow it to sit at room temperature for a few minutes before eating.
- Preserving Texture: When storing, ensure the fudge is fully cool for the best texture and to avoid condensation in the container.
Common Mistakes to Avoid
- Not Using Parchment Paper: Skipping the parchment may make it difficult to remove the fudge from the pan.
- Rushing the Chilling Process: Cutting the fudge before it’s fully set can lead to messy results.
- Overmixing the Food Coloring: Stir just enough to achieve your desired color to avoid compromising the fudge’s texture.
Vampire Fudge: Background & Cultural Inspiration
Vampire fudge draws inspiration from traditional fudge recipes and adapts them to fit modern themes, particularly the popular Halloween festivities. Fudge, a favorite treat in many cultures, dates back to the 19th century. The idea of coloring treats to fit a theme has been popularized in recent years, making it not only a fun dessert but also a way to engage with seasonal celebrations. The vibrant colors capture the spirit of Halloween, making it a favorite among both children and adults alike.
Frequently Asked Questions
Can I use milk chocolate instead of white chocolate?
Yes, you can substitute milk chocolate for white chocolate, but be prepared for a different flavor profile and potentially sweeter fudge.
How long can I store leftover fudge?
Stored in the refrigerator, vampire fudge can last up to two weeks, while in the freezer, it can be enjoyed for up to three months.
Can I make this fudge ahead of time?
Absolutely! This fudge is great for making ahead of time, especially since it needs to chill to set.
Is there a way to make the fudge more or less sweet?
You can adjust the sweetness by using dark chocolate instead of white or reducing the amount of sweetened condensed milk.
What if my fudge doesn’t set?
If the fudge hasn’t set, it may need more chilling time, or it might need to be remade with a properly melted chocolate base.
Final Thoughts
Vampire fudge is a delightful treat that combines the festive spirit of Halloween with the comforting sweetness of fudge. Easy to make and even easier to share, this recipe is sure to be a hit at your holiday gatherings. So why not give it a try? You’ll be pleasantly surprised at how much fun it is to make—and eat!
PrintVampire Fudge

A spooky and festive Halloween treat that combines white chocolate and crushed Oreos for a fun, colorful dessert.
- Prep Time: 15 minutes
- Cook Time: 5 minutes
- Total Time: 20 minutes
- Yield: 24 pieces
- Category: Dessert
- Method: No-Bake
- Cuisine: American
- Diet: Vegetarian
Ingredients
- 2 cups white chocolate chips
- 1 can sweetened condensed milk (14 ounces)
- 1 cup crushed Oreos
- Food coloring (red and black)
- 1 teaspoon vanilla extract
- Optional toppings: Additional crushed Oreos or candy eyeballs
Instructions
- Prepare your baking dish: Line a 9×9 inch square baking pan with parchment paper.
- Melt the chocolate and milk: In a medium saucepan over low heat, combine the white chocolate chips and sweetened condensed milk.
- Add flavoring: Remove the pan from heat and stir in the vanilla extract.
- Incorporate color: Divide the melted mixture into two bowls, adding red and black food coloring respectively.
- Mix in Oreos: Add the crushed Oreos to the red fudge mixture.
- Layer the fudge: Pour the red fudge into the prepared pan, then layer the black fudge on top.
- Swirl decoratively: Create swirls between the red and black fudge for a marbled effect.
- Chill: Refrigerate for at least 4 hours or until set.
- Cut and serve: Lift the fudge out using parchment paper and cut into square pieces.
Notes
Ensure the fudge is fully chilled for the best texture and to avoid mess when cutting.












