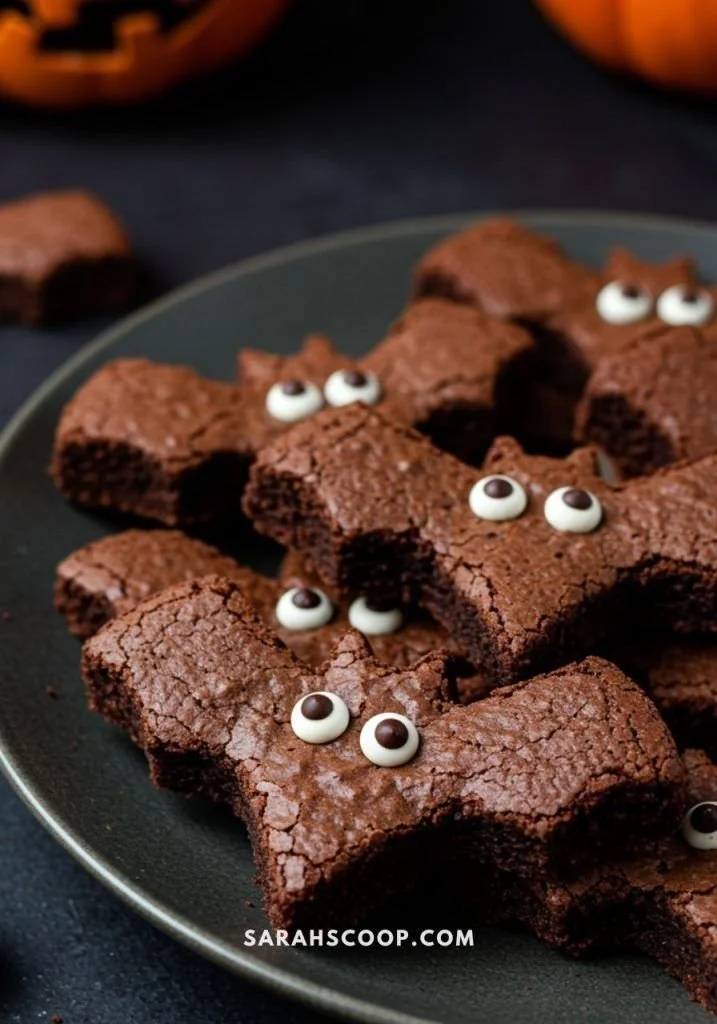
Making Halloween Treats is a delightful way to celebrate the spooky season, adding fun and a touch of creativity to your festivities. These treats are not only easy to whip up but also a fantastic opportunity for families to bond while making something delicious together.
Why You’ll Love Halloween Treats
- Simple and Fun: These Halloween Treats are perfect for beginner cooks and involve minimal steps, making them great for all ages.
- Customizable: You can tailor these spooky treats to suit your taste preferences and dietary needs by swapping out ingredients or using different shapes and decorations.
- Social Activity: Making these treats can be a fun group activity, perfect for parties, family gatherings, or playdates.
- Festive Presentation: These treats can be presented in creatively spooky ways that are sure to impress your guests and delight children.
- Budget-Friendly: Using simple, widely available ingredients means you can make these treats without breaking the bank.
Recipe Overview
- Prep Time: 20 minutes
- Cook Time: 10 minutes
- Total Time: 30 minutes
- Servings: 12 treats
- Difficulty Level: Easy
Ingredients You’ll Need for Halloween Treats
-
For the base:
- 2 cups of rice cereal (holds the shape nicely)
- 1 cup of mini marshmallows (adds sweetness and binds the mixture)
- 4 tablespoons of butter (for richness and a smooth texture)
-
For the decorations:
- 1 cup of candy melts (choose orange, black, and green for Halloween colors)
- Assorted Halloween-themed sprinkles (adds festive flair)
- Optional: small candies like gummy worms or chocolate eyes for spooky additions
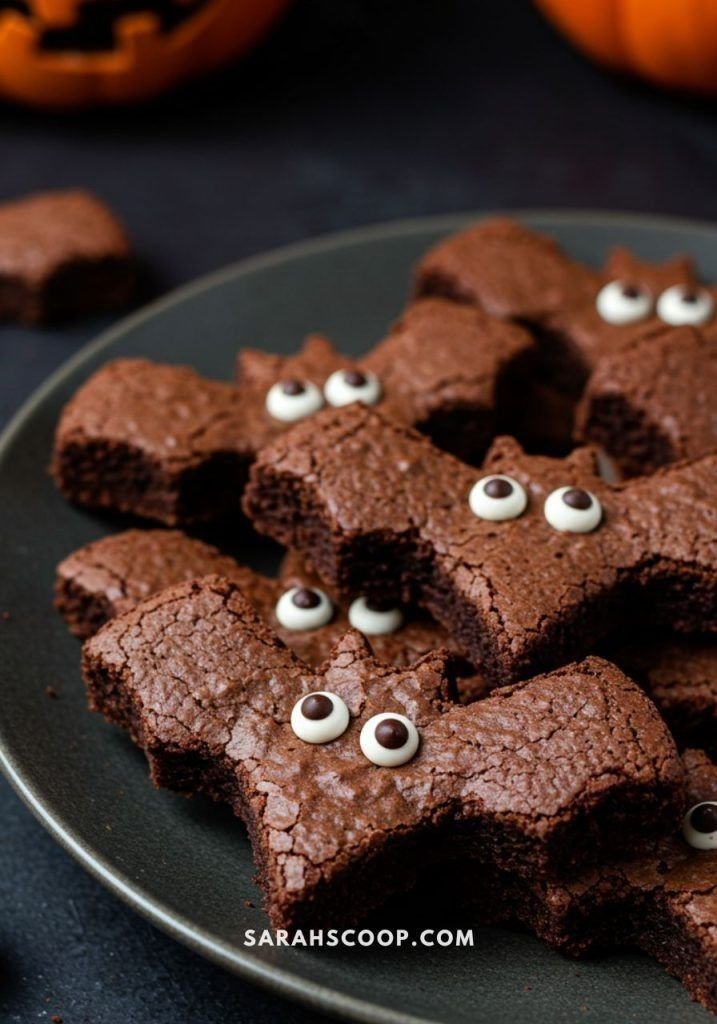
How to Make Halloween Treats
-
Melt the Butter: In a large saucepan, melt the butter over low heat. Stir occasionally to ensure it doesn’t burn.
-
Add Marshmallows: Once the butter is melted, add the mini marshmallows. Keep stirring until they are completely melted and smooth.
-
Combine with Cereal: Remove the saucepan from the heat and add the rice cereal. Stir well to coat all the cereal evenly with the marshmallow mixture.
-
Shape the Treats: Lightly grease a baking dish or a large piece of parchment paper. Transfer the cereal mixture to the dish and press it down firmly to create an even layer. Allow it to cool for about 10 minutes.
-
Cut into Shapes: Once cooled, cut the treats into squares, rectangles, or use cookie cutters for fun shapes like pumpkins or ghosts.
-
Decorate: Melt the candy melts according to package instructions. Dip or drizzle over the shaped treats and quickly sprinkle with Halloween-themed decorations before the coating hardens.
Tips for Success
- Use Parchment Paper: Lining your baking dish with parchment paper makes removing the treats easier and helps prevent sticking.
- Press Firmly: Press down the cereal mixture firmly into the pan; this will help the treats hold their shape better when cut.
- Work Quickly with Candy Melts: The candy melts can harden fast. Once melted, use them immediately and pour extras back into a bowl as needed.
- Experiment with Flavors: Consider adding a pinch of cinnamon or using flavored candy melts for an extra layer of flavor.
Easy Variations
- Chocolate Rice Cereal Treats: Substitute half of the rice cereal with chocolate-flavored rice cereal for a chocolatey twist.
- Peanut Butter Swirl: Add 1/2 cup of peanut butter to the melted marshmallows for a deliciously nutty flavor.
- Vegan Option: Use vegan butter and marshmallow alternatives to create a plant-based version of these treats.
- Fruit Flavoring: Add a few drops of food-safe extracts like vanilla or almond during the melting process for additional flavor.
What to Serve with Halloween Treats
- Hot Cocoa: A warm, comforting drink that pairs excellently with the sweet, crunchy treats.
- Spooky Punch: Create a Halloween-themed fruit punch with floating gummy worms for added fun.
- Popcorn Balls: These share a similar texture and sweetness while offering a different crunchy option for guests.
- Caramel Apples: The chewy caramel complements the crunchy texture of the Halloween treats beautifully.
Storage and Reheating
- Refrigerator Storage: Store any leftover Halloween Treats in an airtight container at room temperature for up to two days.
- Freezer Storage: If you want to store them longer, you can keep them in the freezer for up to a month. Wrap each treat individually to prevent sticking.
- Reheating: While these treats are best enjoyed fresh, if they harden, you can pop them in the microwave for a few seconds to soften again.
- Meal Prep Note: You can prepare the base mixture ahead and cut it into shapes just before serving.
Common Mistakes to Avoid
- Not Melting the Marshmallows Enough: Ensure the marshmallows are completely melted to avoid gritty or uneven texture.
- Skipping Greasing: Don’t forget to grease your hands or the baking dish; sticking treats can lead to frustration.
- Overmixing the Cereal: Mix just enough to coat the cereal; overmixing can make the treats tough.
- Using Old Ingredients: Ensure your marshmallows and butter are fresh for optimum taste and texture.
Halloween Treats: Background & Cultural Inspiration
Halloween Treats stem from the tradition of celebrating Halloween with themed foods, often aimed at children. The custom of celebrating with festive treats can be traced back to the harvest festivals where surplus food was given away. Today, families enjoy creating colorful treats that reflect the spirit of Halloween, often involving fun shapes and vibrant colors, adding a playful touch to the holiday.
Frequently Asked Questions
Can I make these Halloween Treats in advance?
Yes, these treats can be made a day or two ahead of time. Just store them in an airtight container to keep them fresh.
What can I replace candy melts with?
You can substitute candy melts with chocolate chips or even tempered chocolate for dipping and drizzling.
How do I prevent the treats from sticking?
Greasing your hands and the baking pan will help keep the mixture from sticking. Alternatively, use parchment paper for easy removal.
Are these treats gluten-free?
Yes, as long as you use gluten-free rice cereal, these treats can be enjoyed by those with gluten sensitivities.
How can I adjust the sweetness?
To make the treats less sweet, you can reduce the number of marshmallows slightly or use a low-sugar alternative for candy melts.
Final Thoughts
These Halloween Treats offer a simple, yet delightful way to celebrate the holiday with loved ones. With their easy preparation and room for creativity, they are perfect for any gathering, big or small. So grab your ingredients, get the family together, and make some spooky—and delicious—memories this Halloween!
PrintHalloween Treats
Delightful and customizable treats perfect for celebrating Halloween with family and friends.
- Prep Time: 20 minutes
- Cook Time: 10 minutes
- Total Time: 30 minutes
- Yield: 12 treats
- Category: Dessert
- Method: No-Bake
- Cuisine: American
- Diet: Vegetarian
Ingredients
- 2 cups of rice cereal
- 1 cup of mini marshmallows
- 4 tablespoons of butter
- 1 cup of candy melts (orange, black, and green)
- Assorted Halloween-themed sprinkles
- Optional: small candies like gummy worms or chocolate eyes
Instructions
- Melt the butter in a large saucepan over low heat.
- Add the mini marshmallows and stir until melted and smooth.
- Combine with the rice cereal, stirring well to coat evenly.
- Shape the mixture in a greased baking dish or parchment paper, pressing down firmly. Let cool for 10 minutes.
- Cut into shapes like squares or ghosts.
- Decorate with melted candy melts and sprinkles before they harden.
Notes
Use parchment paper for easy removal and press firmly for better shape retention.












