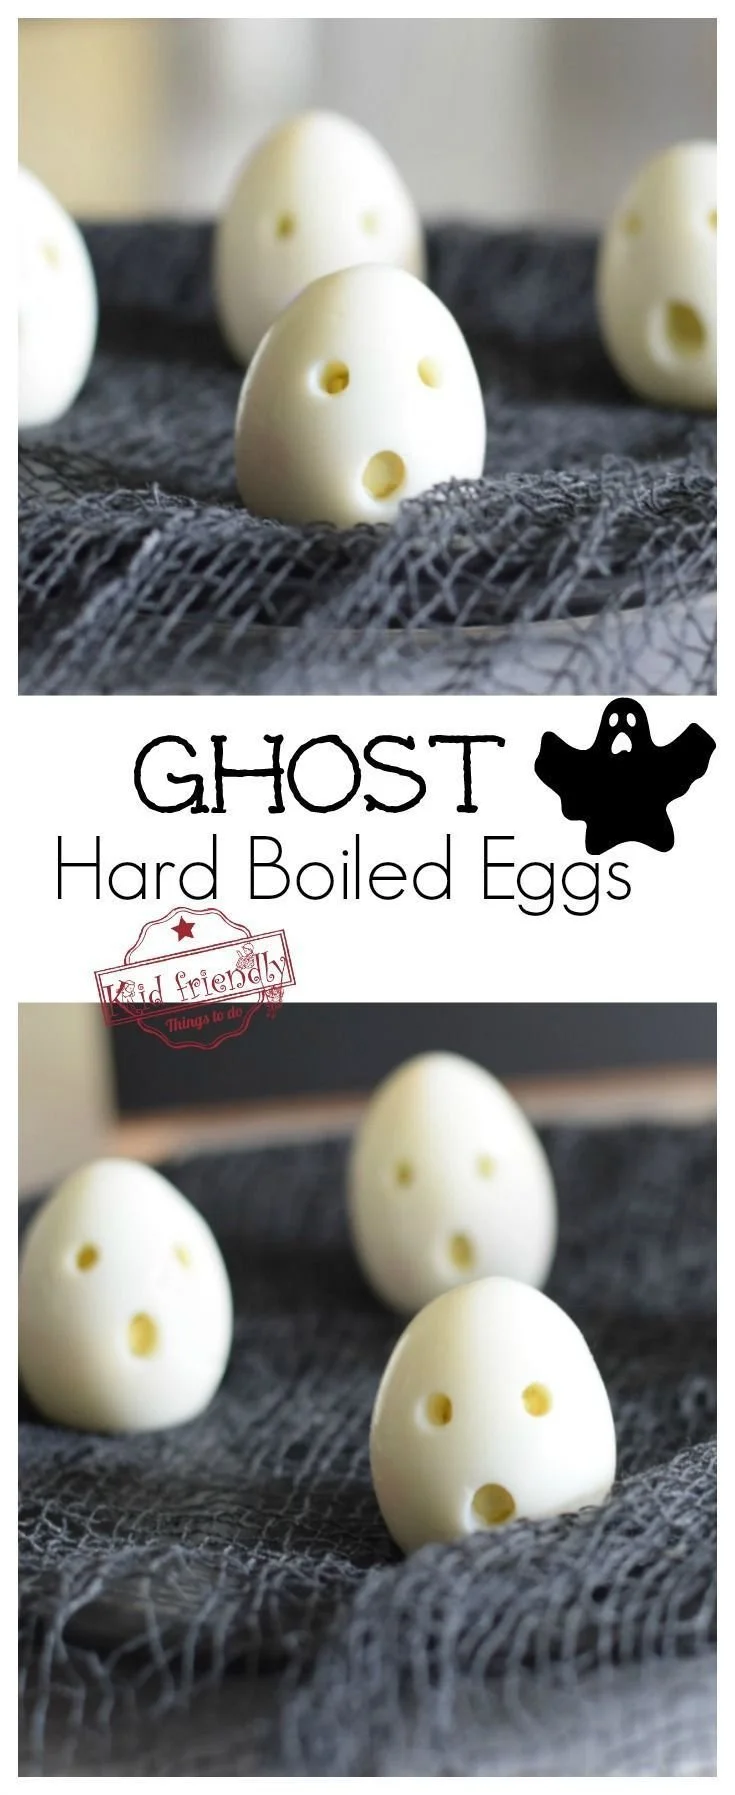
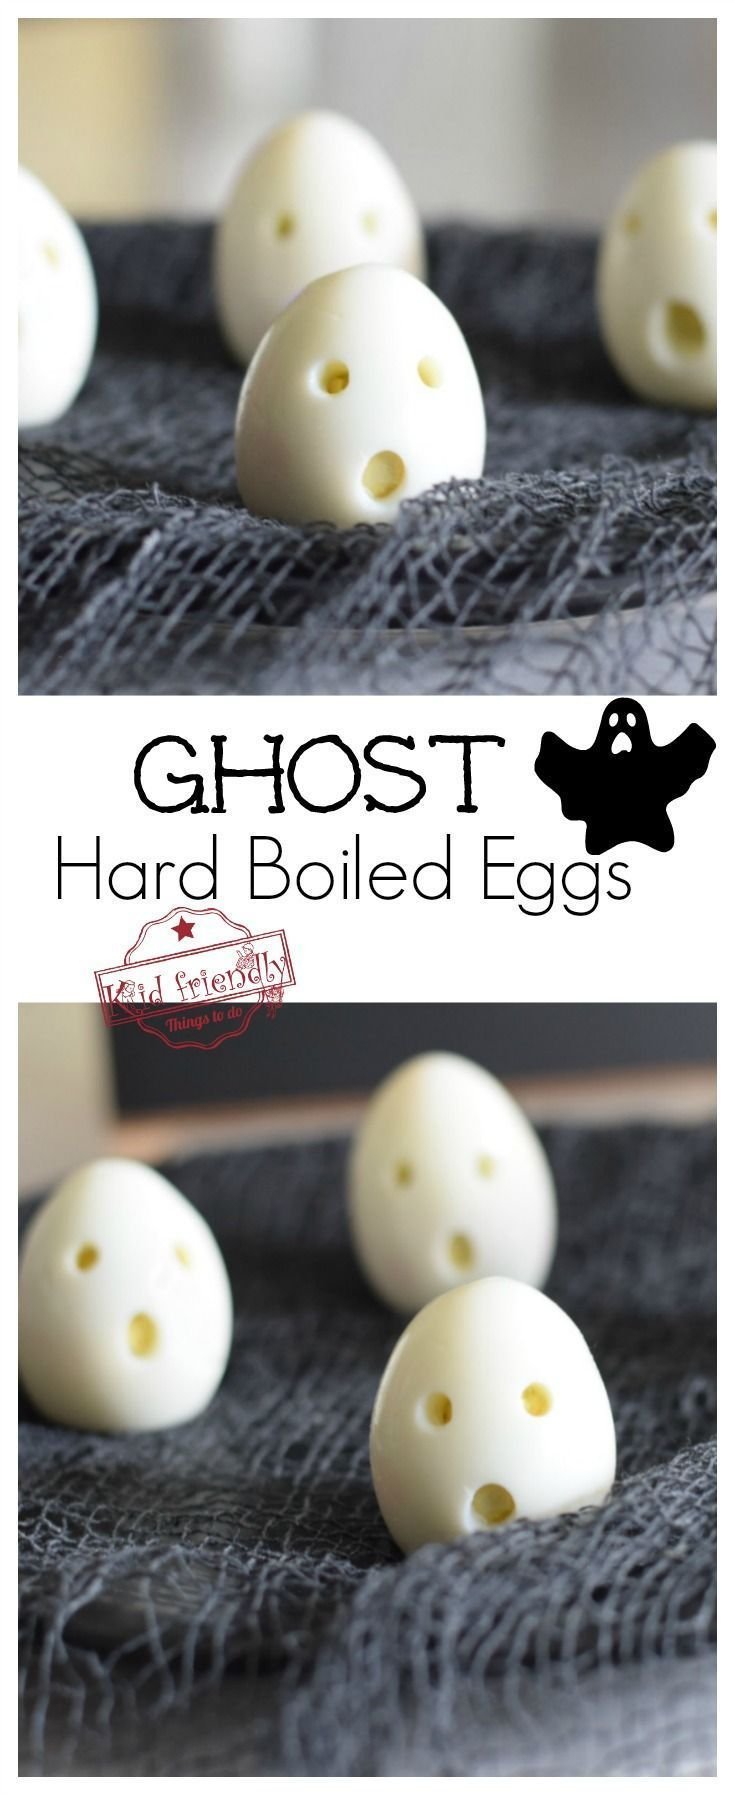
Making hard-boiled eggs at home is a simple yet rewarding task that can elevate your meals and snacks. The recipe for perfect hard-boiled eggs is not just about cooking; it’s about achieving that ideal yolk and creamy texture. Whether you’re preparing breakfast, a protein-rich snack, or ingredient for a salad, mastering this basic skill is worth the effort.
Why You’ll Love Hard-Boiled Eggs
- Quick and Easy: This recipe requires minimal effort and time, making it perfect for busy days.
- Nutritious Snack: Loaded with protein and essential nutrients, they are a healthy addition to your diet.
- Versatile Ingredient: Enjoy them as is, or use them in salads, sandwiches, or as toppings.
- Meal Prep Friendly: They can be prepared in advance, perfect for school lunches or snacks throughout the week.
- Budget-Friendly: Eggs are an affordable ingredient, making this recipe a great choice for those on a budget.
Recipe Overview
- Prep Time: 5 minutes
- Cook Time: 12 minutes
- Total Time: 17 minutes
- Servings: 6 eggs
- Difficulty Level: Easy
Ingredients You’ll Need for Hard-Boiled Eggs
- 6 large eggs: Choose fresh eggs for the best taste and texture. Older eggs tend to peel more easily after boiling.
How to Make Hard-Boiled Eggs
-
Prep the Eggs: Place the eggs in a large pot. Make sure they fit comfortably without overcrowding.
-
Add Water: Cover the eggs with cold water, about 1 inch above the eggs. This helps ensure even cooking.
-
Boil the Water: Heat the pot on high until the water reaches a rolling boil.
-
Turn Off the Heat: Once boiling, cover the pot with a lid and turn off the heat. Let the eggs sit in the hot water undisturbed.
-
Cook Time: Allow the eggs to cook in the residual heat for 12 minutes. For firmer yolks, you can extend the cooking time by a minute or two.
-
Cool the Eggs: Carefully transfer the eggs to a bowl of ice water. Let them chill for at least 14 minutes to halt the cooking process. This also makes peeling easier.
Tips for Success
- Handle Carefully: When transferring eggs to the ice water, be gentle to avoid cracking the shells.
- Time It Right: Use a timer to ensure perfect results; too little time results in undercooked eggs, while too much can lead to a green ring around the yolk.
- Freshness Matters: If you’re not sure about the freshness of your eggs, test them in a bowl of water: fresh eggs sink and lay flat, while older eggs stand upright or float.
- Peeling: To make peeling easier, gently tap the cooked eggs on a hard surface and roll them to crack the shell. Peel under running water to help with any stubborn bits.
Easy Variations
- Deviled Eggs: Cut the hard-boiled eggs in half, remove the yolks, mix with mayo, mustard, and seasonings, and pipe back into the whites.
- Spicy Eggs: Add a dash of hot sauce, or sprinkle red pepper flakes before serving.
- Curry Eggs: Coat your hard-boiled eggs in curry powder or serve them sliced on a bed of curried quinoa.
- Pickled Eggs: After cooling, soak the eggs in a vinegar solution for a tangy treat that lasts longer in the fridge.
What to Serve with Hard-Boiled Eggs
- Salads: Slice eggs over mixed greens or potato salad for added protein.
- Toast: Serve soft-boiled eggs on avocado toast for a delicious brunch option.
- Sandwiches: Mash hard-boiled eggs with some seasoning and spread on bread for a classic egg salad.
- Soups: Add wedges of hard-boiled eggs to ramen or miso soup for extra nourishment.
Storage and Reheating
- Refrigerator Storage: Store cooled hard-boiled eggs in their shells in an airtight container in the fridge for up to one week.
- Freezer Storage: It’s not recommended to freeze hard-boiled eggs as they can become rubbery. However, you can freeze the yolks if needed.
- Reheating: To warm up cold hard-boiled eggs, place them in warm water for about 10 minutes. Avoid microwave heating to prevent rubbery textures.
Common Mistakes to Avoid
- Overcooking: Cooking eggs for too long results in a rubbery texture and a green yolk. Stick to the 12-minute guideline.
- Not Cooling Quickly: Failing to chill the eggs rapidly can lead to a more difficult peeling process due to continued cooking.
- Skipping Ice Bath: An ice bath is essential for easy peeling and preventing overcooking.
Hard-Boiled Eggs: Background & Cultural Inspiration
Hard-boiled eggs have been enjoyed for centuries in various cultures around the world. In many countries, they are a staple ingredient in salads, snacks, and breakfast dishes. They play a central role in traditional celebrations, like Easter, where they symbolize new life. Whether in a classic cobb salad in America or served with a side of soy sauce in Japanese cuisine, hard-boiled eggs are celebrated for their versatility and nutritional value.
Frequently Asked Questions
How do I know when the eggs are done cooking?
Using a timer is the most reliable way to ensure perfect hard-boiled eggs. A cooking time of 12 minutes is recommended for a hard yolk.
What’s the best way to peel hard-boiled eggs?
Peeling hard-boiled eggs under running water can help remove stubborn shell pieces. Cracking and rolling the egg beforehand also makes peeling easier.
Can I make hard-boiled eggs in advance?
Yes, hard-boiled eggs can be made several days in advance and stored in the refrigerator for up to one week.
Can I use frozen eggs for hard-boiling?
It’s not recommended to hard-boil frozen eggs, as they can crack during cooking and yield a poor texture.
Are there any good substitutes for eggs in recipes?
For recipes requiring hard-boiled eggs, a good substitute is tofu or chickpeas, mashed to achieve a similar texture when used in dishes like egg salad.
Final Thoughts
Hard-boiled eggs are a delightful addition to any meal, offering a quick and healthy source of protein. With this simple recipe, you can easily create perfect hard-boiled eggs that are great for snacking, meal prep, or elevating your favorite dishes. Try mastering this recipe, and enjoy the versatility it brings to your kitchen!